Thursday, February 28, 2013

How to move the Unity launcher; Ubuntu 11.10 12.04 13.04

UbuntuLinux Guide
The contents you are looking for have moved. You will be redirected to the new location automatically in 5 seconds. Please bookmark the correct page at How to move unity launcher in Ubuntu
unity launcher in ubuntu 12.04 in original position
Can I move the Unity Launcher?

If you are like some Ubuntu users who find it hard to get used to the new Unity system, you may appreciate the ability to move the launcher from the left part of the screen to the bottom. For some users this makes Ubuntu more familiar by placing the launcher on the bottom of the screen, similar to OS X.

Use a dock-style launcher (Cairo GLX-Dock):

To alleviate one of the biggest issues users have with the Unity Desktop for Ubuntu, the inability to move the launcher to the bottom of the screen, we will add a new launcher application. What I will show you here does not necessarily move the launcher, but rather a third-party application is used to create an entirely new Dock-Style launcher similar to OS X, at the bottom of the screen. The official Unity launcher can simply be hidden afterwards.

Unity Tweak Tool from Software Center
From the Ubuntu Software Center we will download and install Unity Tweak (optional) and Cairo GLX-Dock. To do this simply open up the software center and search for "Unity Tweak", and then run a search for "GLX".
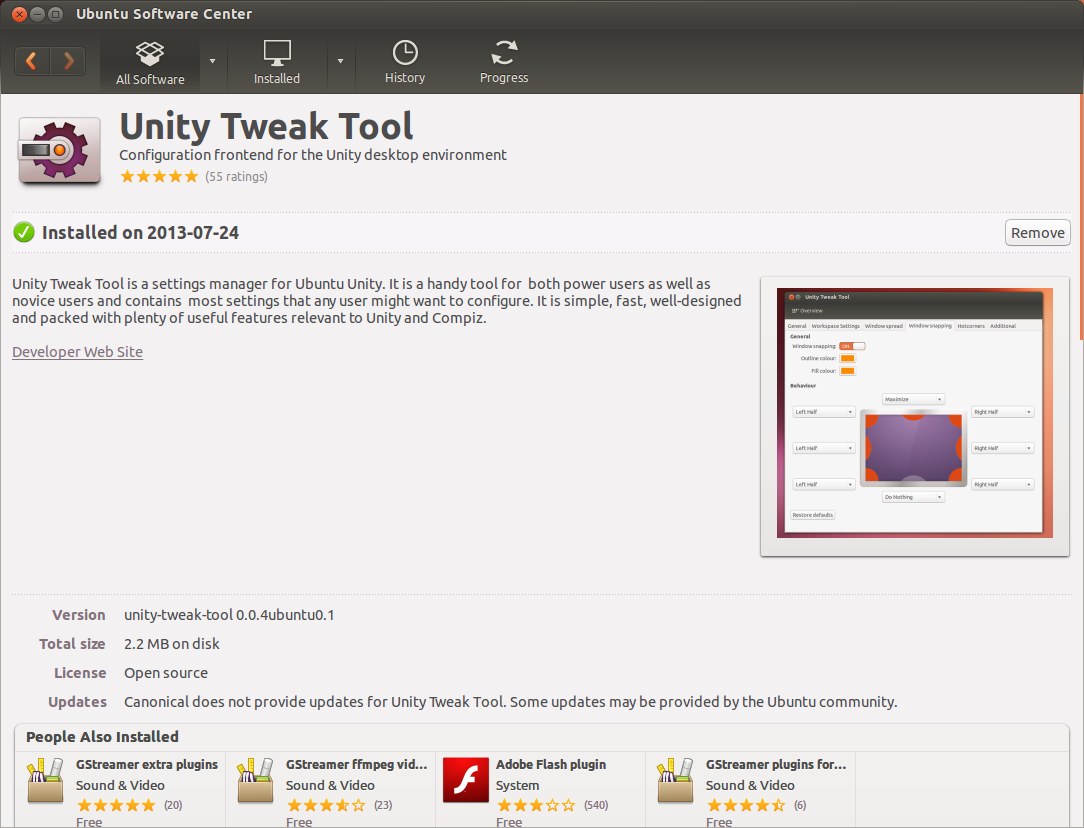
The Unity Tweak tool will only be used to hide the Unity launcher and make the Panel transparent. There are other, native ways, to hide the Unity launcher so this application is not absolutely necessary, but is a nice tool to have.

Cairo-Dock from Ubuntu Software CenterGLX-Dock (Cairo-Dock with OpenGL) is the third-party application which will be responsible for adding the OS X like dock to the bottom of the desktop screen. This application has built in support for OpenGL which will enable hardware acceleration when possible to minimize the load on the CPU. The application also includes a workspace switching, auto hiding toggle window, which can be removed.

After both applications have been installed open GLX-Dock from the applications menu. Here you will have the option to choose Cairo-Dock with OpenGL or without. As soon as the application is opened your new dock should appear at the bottom of the screen.
Ubuntu launcher on bottom. Dock like launcher on bottom

Now if you would like to hide the orignial Unity launcher to avoid confusion and cleanup the look of the desktop you may. The auto hide launcher function can be found in System Settings --> Appearance --> Behavior.

The workspace switch can also be removed by right clicking on it and choosing not to use it.

Ubuntu 11.10:

If you are using Ubuntu version 11.10 you are in luck. There is an unofficial Compiz Plugin that will allow users to move the 3D Unity luancher from the left to the bottom of the screen. However, this unoffical plugin will not move the 2D unity launcher. Also, as with any unofficial plugin, it will probably have many bugs that still need to be worked out so it would be unwise to become reliant on this plugin for daily operation.

Install the PPA: ppa:paullo612/unityshell-rotated

The packages to install are unityshell-rotated libnux-1.0-0

A new plugin, Ubuntu Unity Plugin Rotated, will be made available in CCSM.

There is a much possibility for freezes on installation. If/when this occurs use CTRL + ALT + F1 to start a TTY. Then login and restart lightdm with sudo service lightdm restart. Rerun ccsm to enable the new plugin.

This plugin will replace the official Unity Plugin so users will not receive further bug fixes and updates from the Ubuntu development team.


Ubuntu 12.04:

As of 12.04 you can not move the launcher, and there’s no official support for that.
This is by design, and so far, there are no Canonical plans to change that. Here’s a quote from Mark on the bug report for Ubuntu 11.04:

I think the report actually meant that the launcher should be movable to other edges of the screen. I’m afraid that won’t work with our broader design goals, so we won’t implement that. We want the launcher always close to the Ubuntu button.

I interpret that as a stand that a consistent design must be experienced as a Unity (pun intended), or it won't work at all.

While I personally disagree with Mark’s/Canonical’s decision not to provide a way to move the launcher (please read my final note on this), I do understand the design choice: it truly makes sense for it to be on the side and not at the bottom. Most users today have a widescreen monitor, and virtually all monitors for sale, specially for end-user consumer market, are widescreen too. That means the vast majority of users have lots of extra horizontal space (mostly underused), while vertical space is premium.

Most apps and websites do not use your whole screen width (check the large vertical background bars in both sides of screen of Ask Ubuntu, for example). But they do use the full vertical length (actually, they scroll 3, 5, 10 times your screen height). Meaning lots and lots of scrolling. And then you subtract title bar, menu bar, favorites bar, tabs bar, etc., all of them sucking up your precious vertical space. So adding the launcher on top/bottom would make things even worse, while there’s plenty of extra, “idle” horizontal space.

There is an ongoing, strong movement in app development, specially browsers, towards reducing the number of bars and merging them together. Think about how Firefox changed in this regard in the last few years. So it makes sense for an OS to do the same.

True, Windows’ panel is a well-crafted one… but the design choice of Unity to put it at side and not the bottom is a wise one, once you get used to it. And it’s worth doing so. Your mouse wheel will say thanks ;)

That said, some important notes:
  • I am just expressing Mark’s/Canonical’s statements and point of view. While I do understand the design choice, and I do agree with a side launcher, I certainly do not agree with the decision of not being able to move it. But I’m just a messenger. Don’t shoot the messenger.
  • There are unofficial, third-party packages that allow you to move the launcher. This other answer covers that in great depth.
  • You can, at least, have some control over the launcher in a multi-monitor setup
Source: StackExchange

Wednesday, February 27, 2013

Make Ubuntu 12.04 recognize encrypted swap partitions to enable Hibernation

search for gparted
Have you upgraded to the latest long term support edition of Ubuntu, Ubuntu 12.04 LTS? If you have used gparted to erase and enlarge your swap partition size you are likely experiencing issues resuming from a hibernation state. The most common error message that users will receive after resizing their swap partitions, is that the swap partition is unknown on resume. Users with an encrypted swap partition will also not be able to resume from a hibernation state. This is because when the system suspends it sets a random password to access the swap partition upon resume. This article will show you how to generate a custom swap partition pass phrase which can be used to access encrypted swap partitions upon system resume. This may be a workaround fix for many users with similar problems as described previously.

Prerequisites: 

  • This tutorial requires the use of Terminal to install necessary applications and configure files and directories.
  • This procedure was tested on Ubuntu 12.04 (fully updated). Do not assume it will work on other versions or distributions.
  • If more than one person uses your machine, every user will need to know the encryption password for the swap.
Overview:
  • Your existing encrypted swap partition uses a random key, generated each time you boot.
  • You will be replacing that random key method with a fixed key using a password of your choice. This password must be typed into the computer every time it is started or resumed from hibernation, whether by you or a different user.
  • It is possible to replace the password with a file, meaning that you wouldn't have to remember an extra password — but that file would be visible to anyone with physical access to your computer (e.g. via a Live USB).
  • If you forget your password, you will still be able to boot (after trying three times), but you won't have a swap partition. However, you can repeat this How-To to set it up again, so it's not a big deal.
 Getting Started:
  1. Your computer must already be set up for encryption. If not, follow instructions in Post Installation Encryption first.
  2. Think of a password (or passphrase) for your swap partition. You can use the same as your log-in — but don't do that if other people have accounts on your computer!
  3. Find out which is your encrypted swap partition. "swapon --summary"  Output should be similar to figure 1. If you do not see cryptswap1, the partition is either unencrypted or is not encrypted to Ubuntu's standard.       


    determine swap status summary ubuntu from terminal
    figure 1.

  • sudo cryptsetup status cryptswap1 
Output should be similar to this
/dev/mapper/cryptswap1 is active and is in use.
   type:    PLAIN
   cipher:  aes-cbc-essiv:sha256
   keysize: 256 bits
   device:  /dev/sda1
   offset:  0 sectors
   size:    3997696 sectors
   mode:    read/write
  • Make a note of the device. The one in the example says /dev/sda1 — but yours could be something else, e.g. /dev/sdb3.
 Setting Up Hibernation:
1. Turn of Swap
  • sudo swapoff /dev/mapper/cryptswap1
     
2. Undo the existing mapping. 
sudo cryptsetup luksClose /dev/mapper/cryptswap1

3. Set up swap again, but this time with your chosen passphrase. The command will prompt you, twice, for your passphrase. Replace /dev/sdXN with the device from Preparation point 4. (The following command wraps on the browser screen, but it is a single command that you need to type.)
sudo cryptsetup luksFormat --cipher aes-cbc-essiv:sha256 --verify-passphrase --key-size 256 /dev/sdXN
Output should be
WARNING! ======== This will overwrite data on /dev/sda1 irrevocably. Are you sure? (Type uppercase yes): Enter LUKS passphrase: Verify passphrase:
Type YES and enter your passphrase twice as prompted.
4. Re-map the swap. Replace /dev/sdXN with the device from Preparation point 4.
sudo cryptsetup luksOpen /dev/sdXN cryptswap1

5. Set up the partition as swap.
sudo mkswap /dev/mapper/cryptswap1

6. Turn on the swap (so it starts working again).
sudo swapon --all

7.  Check that it is working.
swapon --summary

You should see output similar
 to this (the numbers may differ).
Filename Type Size Used Priority /dev/mapper/cryptswap1 partition 1996796 0 -1

8. Using gksudo with your favorite editor (the default for Ubuntu is gedit), edit the file /etc/crypttab. Comment out the existing line by adding # to the front (or just delete the line), and add the following line. Replace /dev/sdXN with the device from Preparation point 4.
cryptswap1 /dev/sdXN none luks

9. Edit the file /usr/share/initramfs-tools/scripts/local-top/cryptroot. Search for the following line (should be line 288, but this could change over time):
message "cryptsetup: unknown error setting up device mapping"
Skip to the next blank line (should be 291, before FSTYPE=''), and insert the following line. Replace /dev/sdXN with the device from Preparation point 4.
/sbin/cryptsetup luksOpen /dev/sdXN cryptswap1

10. Edit the file /etc/acpi/hibernate.sh. At the first blank line, insert the following line.
/sbin/cryptsetup luksOpen /dev/sdXN cryptswap1

11. Edit the file /etc/initramfs-tools/conf.d/resume. Replace the existing RESUME line with the following line.
RESUME=/dev/mapper/cryptswap1

12. Register these changes.
sudo update-initramfs -u -k all

13. Ubuntu disables the Hibernate option in the menu. Restore it as follows. Create (using gksudo with your favorite editor) the file:
/etc/polkit-1/localauthority/50-local.d/com.ubuntu.enable-hibernate.pkla
Fill the file with the following text and save. 
[Re-enable hibernate by default] Identity=unix-user:* Action=org.freedesktop.upower.hibernate ResultActive=yes

First time use of New Swap:

1. Reboot your machine.
2. You will receive a prompt for swap's encryption passphrase. Remember that your mouse does not work at this point. Type your passphrase and press Enter. 
3.  If you mistype a passphrase three times, the system will boot anyway but without your swap enabled. Repeat the How-To if you have forgotten your passphrase. 


Original Post: UbuntuForums

Friday, February 22, 2013

The best video editor for Ubuntu 12.04 with support for many video formats: OpenShot

open shot video editor for ubuntu 12.04


Often when people thing of editing video with a computer, they automatically assume a Mac setup. There are a few applications that seek to change that mentality, specifically OpenShot. It is most likely the most stable and feature packed video editing app for the Ubuntu unix OS. OpenShot can enable users to join many video clips with different formats and create short movies from them. Video encoding in this application is powered by FFmpeg, a free software project that produces libraries and programs for handling multimedia data. Support for many file types exists, including: MKVMOVVOBMP4, and MPEG.


--> Key Features of OpenShot:
  • Support for many video, audio, and image formats (based on FFmpeg)
  • GNOME integration (drag-and-drop support)
  • Multiple tracks
  • Clip resizing, trimming, snapping, and cutting
  • Video transitions with real-time previews
  • Compositing, image overlays, watermarks
  • 3D Animated Titles (by using Blender on the background)
  • Title templates, title creation, sub-titles
  • SVG friendly, to create and include titles and credits
  • Scrolling motion picture credits
  • Solid color clips (including alpha compositing)
  • Support for Rotoscoping / Image sequences
  • Drag and drop timeline
  • Frame stepping, key-mappings: J,K, and L keys
  • Video encoding (based on FFmpeg)
  • Key Frame animation
  • Digital zooming of video clips
  • Speed changes on clips (slow motion etc.)
  • Custom transition lumas and masks
  • Re-sizing of clips (frame size)
  • Audio mixing and editing
  • Presets for key frame animations and layout
  • Pan and Zoom functionality
  • Digital video effects, including brightness, gamma, hue, greyscale, chroma key (bluescreen / greenscreen), and over 20 other video effects
  • OpenShot provides extensive editing and compositing features, and has been designed as a practical tool for working with high-definition video including HDV and AVCHD.
The OpenShot video editor for Ubuntu Linux also supports drag and drop of audio and video files from the users Gnome desktop.
DragDrop: OpenShot
The most appealing aspect of OpenShot is that it is a complete video editing solution. Users can encode, edit, add transitions, add text, add/edit audio, etc. all in one easy to use application. For any Ubuntu user with a need to convert/edit videos and create small movies OpenShot is for sure the best video editing application.

Version 1.2 video:


To install OpenShot open Terminal (ctrl + alt + T) and enter the following command:

sudo apt-get install openshot


PiTiVi
Download pitivi video editor from Ubuntu Software Center

PiTiVi is another video editor for Ubuntu. It does not offer as many features or transitional effects as OpenShot however, PiTiVi is also free and open source.

Create a new project with Pitivi Video Editor for Ubuntu
PiTiVi allows users to create and edit audio/video projects using the Gstreamer framework. This video editor provides several ways of creating and modifying a timeline putting the user in complete control of editing.

Gstreamer is a streaming media framework for Ubuntu based on graphs of filters which operate on media data. Its plugin based architecture means that users can add to and expand the applications capabilities by simply installing new plugins.

To install Pitivi open Terminal (ctrl + alt + T) and enter the following command:

sudo apt-get install pitivi


Related:

Connect to Windows 7 via remote desktop connection (RDP) from Ubuntu

A common task and useful tool in modern computing is to be able to view and control the screen of another computer; the host, often running a different operating system than the client. Some Ubuntu users may be wondering if is possible to use the remote desktop protocol (RDP) to connect to an Ubuntu machine. The answer is yes! This method may be useful if a potential client PC is running a version of Windows.

Remmina will be used as the remote client. Remmina Remote Desktop Client has replaced TSClient - Ubuntu 11.04 - as the new native RDP client. RDP, VNC, SDMCP, NX, SSH, Avahi and Telepathy are among the remote desktop protocols supported by the new release of Ubuntu 12.04 LTS. The wide variety of remote protocols supported by Remmina will surely make a usefully client for those who remotely access computers with a wide variety of operating systems.

Remmina is availabe in three different packages; GTK+ application, GNOME application and the xfce panel plug-in. The Ubuntu software center has remmina availalbe for download.
Here we will overview some of the most popular methods of connecting to an Ubuntu computer from a Windows 7 machine using the remote desktop protocol (RDP).

To connect to the Windows 7 pc via RDP you must first enable remote control of the windows screen. This is done by going to the start menu, right click on computer, then select properties.
KillerTechTips
In the control panel window that pops up select "Remote Settings" in the column on the left.
KillerTechTips
In the "System Properties" window that will appear, and under the "Remote" tab, be sure to check the "Allow remote assistance" button. You will also need to select one of the security preferences located towards the bottom of this window.
KillerTechTips
If you are having trouble connecting to the windows rdp then I would suggest you choose "Allow connections from any computer running any version of Remote Desktop." Thats it. You have enabled rdp screen sharing to your Windows 7 computer.

Now we need to configure Remmina on the Ubuntu machine.

Step 1. To set up Remmina you will first need to select the icon with a blank page and a plus sign to set up a new remote desktop profile.

Step 2. First you will want to give this new connection a name and select the protocol you will be using; RDP (Remote Desktop Protocol), SFTP (Secure File Transfer), SSH (Secure Shell), VNC (Virtual Network Computing) or VNC (Incoming Connection).

Step 3. Now enter the username, password, and domain of the machine you would like to connect to. Here you can also change the screen resolution and color depth. Adjust these parameters to attain the desired performance.


Related Posts Plugin for WordPress, Blogger...